Hello in this tutorial I will be showing you how to start on a platformer in phaser, I will supply the assets needed and you can download what we will be starting with here. You will also need an IDE (Integrated development environment) such as visual studio, visual studio code or rider
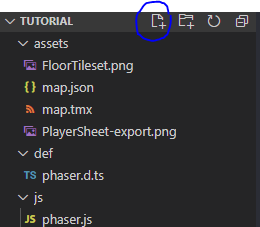
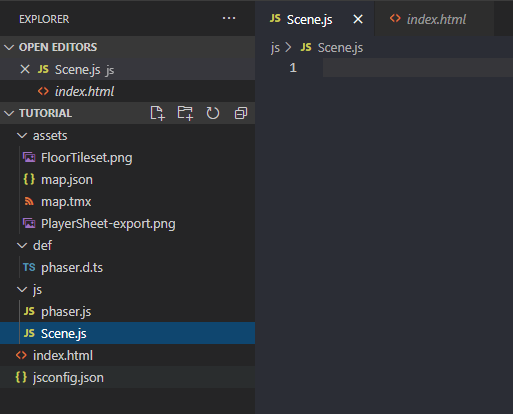
To begin we’ll need to create a file for the code to go into. Go into visual studio code (or your chosen IDE) and create a file under the js folder and name this “Scene.js”
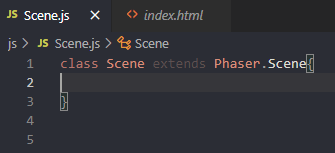
once this is created and you have a blank file like this we will need to set it up so that phaser can use it, we do this by adding text that tells phaser that its a class so write at the top “class Scene extends Phaser.Scene{ }” this defines it as a class and tells it to extend from Phaser,Scene which contains all of the functions that we’ll need to set up the scene to work.
To start off we’ll want to bring all of the assets in that we will need into the game, we’ll use one of the functions from the Phaser.Scene that we added called “preload(){}” inside of this we will need to tell the game to load the asset, the type of asset and where the asset is located. We’ll also need to tag the asset so that we can reference it when we want to use it. To do all of this we will need to write “this.load.image(tag, “assetlocation”);” the use of this specifies that we are writing in the scope of the class (in a way, as the class) then we say load and image this tells phaser that its an image coming in, we then give the tag and location of the asset. In practice it looks like this
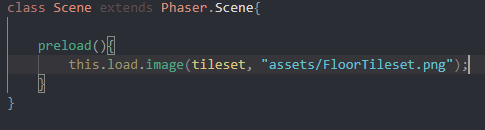
In this example we are loading in the tileset that will be used a bit later on, you can see where I added the tag and the location which in this case we dont have to worry about the script being in a different folder from the assets as all of the scripts are run off of the index.html which is in the main folder so the path from there is just “assets/FloorTileset.png” and I used the tag tileset as this will be used as the tileset a bit later on.
The next thing we will need to add in this preload function is the player’s spritesheet. This spritesheet contains all of the frames for our player sprite, we’ll add this in a bit differently as this wont just be an image so instead we’ll use this.load.spritesheet, this requires the tag as usual but we’ll also have to tell it the dimensions of each frame and for this we’ll have an object inside of it. An object looks like this {}, everything in this is defined as a single object, this can be helpful for bunching together variables quickly for use in functions such as the one we are about to use.

As shown in the image we use an object to define the height and width of the animation frames from the player sprite sheet, we tag this as player and give the location as usual but the third input into the function is the object.
The next and last thing we’ll be adding to the preload is the tilemap json, the json contains the information about the tilemap thats included in the starting pack we’ll be using this in order to tell phaser how to handle the map and its tiles including its collision

this still follows the format of the previous load calls having a tag and location for the asset we’ll be using this in the next function where we will set up the players animations and the map itself I will be skimming over it and not explaining it as much as I’ve tried explained this
Starting off the function by writing create(){}

Right before we create the map here we will need to go up above preload and declare a few variables, variables declared before the functions are known as gloabal variables and can be used at any point in the file, we’ll need these variables to hold the information about our map, player and other things as we continue through the tutorial. The variables to write here for the timebeing are map and player, its better to keep variables starting with a lower case as to not confuse them with classes or functions elsewhere in the code

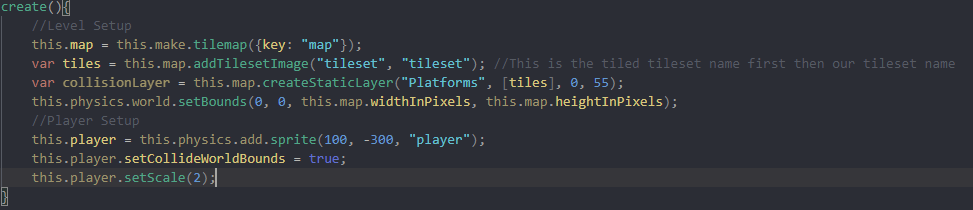
Here is the level setup and the player setup for the level we use the global variable map we made and a function to create the tilemap in the engine using the map that we defined in preload. The variable tiles on the next line is created only in create and is what we use to visualise the map, similarly with collisionLayer on the following line, its created only in create and is what we use to define the collision for the map, we’ll come back to this later. Next we setbounds for the world, this is to stop the player from falling out of the world. For the player we start by setting the global variable as a new physics sprite, we then set it able to collide with the world bounds and increase its scale a bit so that it’s easier to see

The last line we will add to create is this which creates the keys that we’ll need to control the character
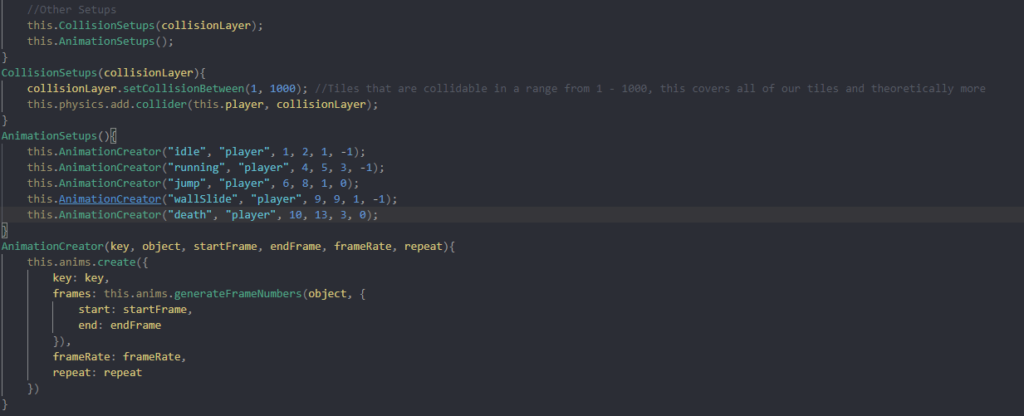
in the final bits of create we’re gonna write out 2 more functions to keep the code a bit neater by grouping together lines and 1 more that will streamline a function that we’d have to repeat otherwise.
The collision setups function takes our collision layer and tells it to count every tile as collidable, we set it to 1000 as it’ll make sure every tile is counted, we then tell the engine to add collision between the player and the collisionLayer. The animation setups function creates all of the animations we’ll need for the player using our third function animation creator. This function uses a seperate built in function this.anims.create and passes in the values into the object that we’d need to create ourselves otherwise, this helps organise the code as it means that we’ll only need to write out the full anims.create once and the rest can be done by figuring out the values we need such as the key, start and end frames, framerate etc

In the update function we will need to handle the players inputs using the keys we created in create (the cursors). We’ll first go through with seperate if statements to check if the player is pressing the key and then we will add velocity to the player if they are pressing left or right, 160 gives a good amount of speed to the player and whenever we are not pressing a direction the player will be still. The final if statement is for jumping that we will implement in a moment but the if statement checks that the player is touching the ground and then if they are it’ll set the players jump count to zero


Next we will add the bottom if statement, this will check that the players hit space and then check that the player has only jumped once (this usually ends up as twice due to the frame that the player presses space the character will still be touching the ground so the game resets the jump counter giving the player a second jump) and once it passes the check it sends the character up.
Using this as a starting area there is much more you could add to it such as wall jumping using a similar if statement to the ground detection and tweaking how it acts in response, you could add gliding using the keys and jump counter you could even add enemies by bringing the sprites in and having a timer control the movement instead of keys and using the collision setup to include a line where you specify collision between the players sprite and the enemies sprite, there are many places to go from here I’d suggest doing research on the phaser site and on forums to see what you want to try and create